


An automatic capsule filling machine operates at high speeds—processing up to 90,000 capsules per hour while maintaining tight tolerances on fill weight and alignment. Without structured daily maintenance, unplanned downtime becomes harder to predict, and equipment failures disrupt production, compromise product quality, and create regulatory risk.
Most automatic capsule filling machine failures stem from improper feeding and filling accuracy drift—issues that structured checklists catch early. A well-executed daily maintenance routine protects three things: product quality, compliance, and production time. When residue builds up, you see underfilled capsules, leaks, or rejects. When parts wear, you get weight variation or capsule damage. It is cheaper to prevent faults than to stop a line for fixes.
This guide provides a practical, shift-by-shift maintenance checklist for your automatic capsule filling machine. Follow these steps daily to keep your capsule filler machine running reliably, reduce reject rates, and avoid costly emergency repairs.
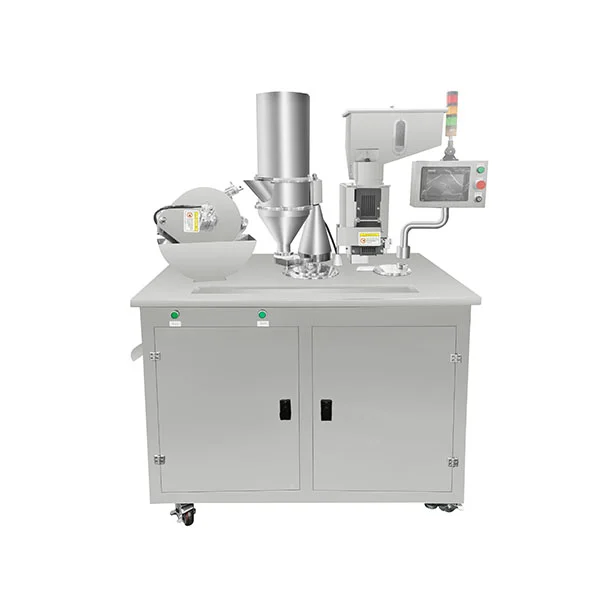
Why Daily Maintenance Matters for Your Capsule Filler Machine
The capsule filling machine working process involves numerous moving parts, precision dosing mechanisms, and vacuum systems that are susceptible to powder buildup and friction. Daily maintenance is not optional—it is essential.
Key benefits of a consistent daily routine include:
Extended equipment lifespan – Regular cleaning and lubrication reduce wear on critical components like dosing discs, tamping pins, and guide rails
Consistent fill accuracy – Clean filling stations maintain fill weight within specification (±3–5% of target weight)
Reduced downtime – Catching small issues early prevents production-stopping failures
Regulatory compliance – FDA cGMP regulations require that equipment be “routinely calibrated, inspected, checked, and maintained” with documented records
Daily Maintenance Checklist for Your Capsule Filling Machine Working Process
A comprehensive daily maintenance routine for your capsule filler machine should be completed at the start and end of each production shift. The checklist below organizes tasks by timing and priority.
Pre-Operation Checks (Start of Shift)
Before beginning the capsule filling machine working process each day, complete these verification steps:
Review previous shift records – Check equipment operation logs for any alarms, reject rate anomalies, or maintenance notes.
Inspect capsule hopper – Verify cleanliness and absence of excessive dust or residue from prior runs.
Check vacuum system – Confirm vacuum pump pressure meets machine specification; inspect hoses and fittings for leaks or blockage.
Test capsule orientation – Run a short dry test with empty capsules to verify inversion rate remains below 3%.
Verify fill weight – Perform a quick fill weight verification and calibration check.
Inspect safety systems – Test emergency stop and safety clutch functionality.
Post-Operation Cleaning (End of Shift)
After completing the automatic capsule filling machine working process for the day, follow these cleaning steps:
Step 1 – Power Down and Lockout
Always disconnect the power supply before performing any maintenance or cleaning. Use lockout/tagout (LOTO) procedures to prevent accidental restart.
Step 2 – Dry Clean First
Use soft brushes or compressed air to remove powder and capsule debris from accessible surfaces. Dry cleaning prevents smearing powder into seams during wet cleaning. Focus on:
Machine surface and tabletop
Die plate holes and capsule segments
Capsule guide tracks and conveyors
Step 3 – Wet Clean Product-Contact Surfaces
Wipe stainless steel surfaces and components that contact the product with a lint-free cloth dampened with 70% isopropyl alcohol. Clean:
Capsule hopper and feed tubes
Dosing disc and tamping pins
Upper and lower capsule holes
Sealing guide rings
Avoid excess liquid near sensors, motors, and wiring. Never use water to directly wash the main unit.
Step 4 – Inspect and Reassemble
Confirm all parts are dry before reassembly. Run an empty-capsule cycle to confirm smooth movement before the next shift.
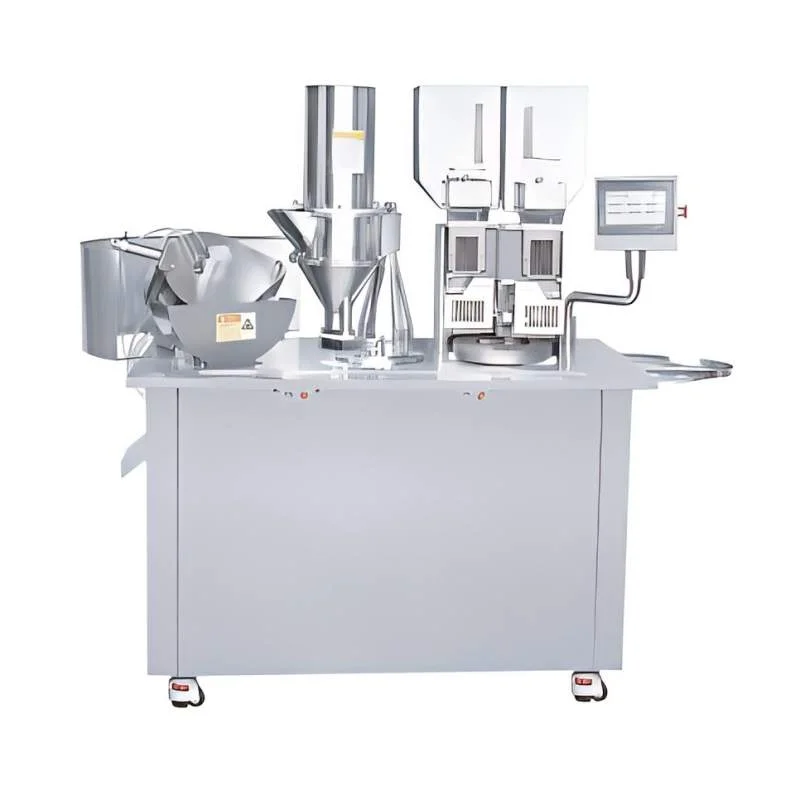
Weekly and Monthly Maintenance Tasks for Your Capsule Filler Machine
While daily care covers the basics, deeper maintenance at weekly and monthly intervals is essential for long-term automatic capsule filling machine reliability.
Weekly Tasks
Grease cam roller working surfaces – Apply lubricating grease to cam roller contact surfaces every week
Check drive chain tension – Inspect and adjust drive chain tightness; add lubricating grease as needed
Clean vacuum system filter – Open the vacuum system filter and remove accumulated debris
Replace vacuum pump circulating water – Change the circulating water in the water tank weekly to maintain vacuum pump cleanliness
Monthly Tasks
Check reducer oil levels – Inspect oil quantity in the main drive reducer and feed reducer monthly; refill if insufficient
Lubricate joint bearings – Apply oil to the joint bearings beneath the machine table
Inspect cam indexer transmission components – Check coupling and gear meshing clearance for stability
Every Six Months
Replace reducer lubricating oil – Full oil change for main drive and feed reducers
Replace turntable indexing box oil – Change lubricant every 3,000 hours of operation
Common Faults Prevented by Daily Maintenance
| Common Fault | Preventive Action | Frequency |
|---|---|---|
| Capsules fail to separate | Clean vacuum ports and separation bores; check vacuum pressure | Daily |
| Fill-weight drift | Verify dosing disc cleanliness; calibrate fill system | Daily / Weekly |
| Capsule jamming | Remove powder buildup from guide tracks and segments | Daily |
| Powder leakage | Inspect tamping pins and sealing alignment | Weekly |
| Chain slippage | Check and adjust drive chain tension | Weekly |
| Overheating | Clean ventilation fans; verify reducer oil levels | Monthly |
Conclusion
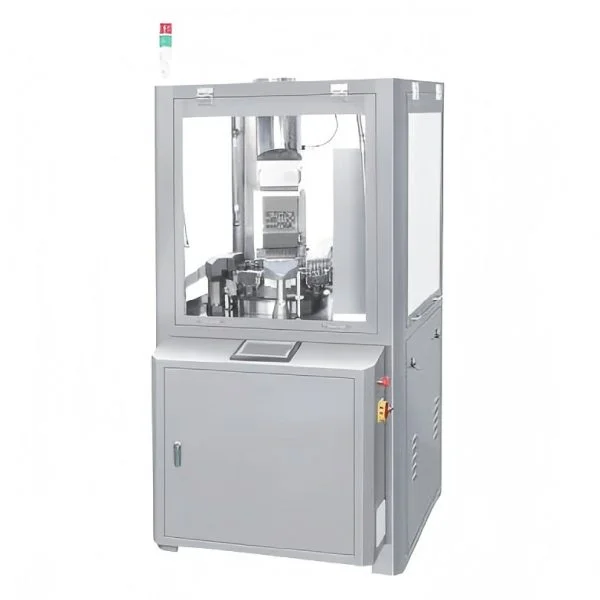
Daily maintenance is the foundation of reliable automatic capsule filling machine operation. A consistent routine of pre-operation checks, end-of-shift cleaning, and scheduled lubrication prevents the majority of common failures—separation errors, weight variation, jamming, and downtime. The same rigorous approach benefits any downstream capping machine, where debris or misalignment directly compromises closure integrity and seal quality. Start with the daily checklist provided in this guide. Document each maintenance activity to support GMP compliance and build a maintenance history that helps predict wear patterns. Your capsule filler machine will reward you with consistent output, fewer rejects, and a longer service life.
FAQ
What happens if I skip daily cleaning of my automatic capsule filling machine?
Skipping daily cleaning allows powder and capsule debris to accumulate in crevices and moving parts. This leads to fill-weight drift, capsule jamming, increased rejection rates, and premature wear on dosing discs and tamping pins. Over time, residue can harden and cause permanent damage to critical components.
How often should I replace lubricating oil in my capsule filler machine?
The lubricating oil in the main drive reducer should be replaced every 250–300 operating hours. The turntable indexing box oil should be replaced every 3,000 hours of operation. A full oil change for reducers is recommended every six months.
What are the warning signs that my automatic capsule filling machine needs immediate maintenance?
Key warning signs include rising reject rates, increasing weight variation, frequent capsule separation failures, unusual machine noise or vibration, repeated alarms, and visible powder buildup or wear on components. Address these symptoms immediately to prevent production-stopping failures.